Document templates, formerly print templates, make it easy to create documents using consistent, standardized language that insert information specific to the situation. For example, you might have an NDA template that includes standard and approved contractual text, with the parties' names, addresses, and other information inserted based on the data in the record.
This makes it easy to generate standard documents quickly and with confidence that they follow the necessary procedures.
We recommend using the Agiloft Contract Assistant for Word to build and edit document templates. Every session must end by clicking Save (or Publish Changes), otherwise templates will fail to work if opened in the template editor.
Creating a Template
When you build a new document template, begin with an existing, finalized contract sample in .docx format that is a good representation of your organization's best practices. Then, use the Word app to replace of the sample document's text with variables that call values from a record.
To create a document template using the Agiloft Contract Assistant for Word, follow the steps below.
- Choose a sample document to use as the basis of the template. Save it as a local file, and open it in Microsoft Word.
- Click the Agiloft logo in the Home
- in to the KB where you want to create the document template.
- Click Create new template.
- Complete the basic information about the template:
- Title: Enter the title of the template.
- Description: Give an optional description of what sort of contract this template represents, how it should be used, etc.
- Status: Determine whether this document template should be Active or Inactive.
- Publication Level: Determine who can view this document template.
- Related To: Determine what records this document template is related to. If you select Contracts, you can then link this document template to specific contract types. This way, you can be sure you are only using a document template with the right kind of contracts.
- eSignature Type: Select whether this document template is signed using Adobe Sign or DocuSign.
- Click Create. After you click Create, you can still edit the details and link additional contract types, either here in Word or in the Document Templates table of the KB.
- The pane now shows the template information you entered, and offers the option to Scan and Convert syntax into labels. Real-world documents don't generally include any document template syntax, so you don't need to use this option. This tool is useful when editing or troubleshooting existing templates.
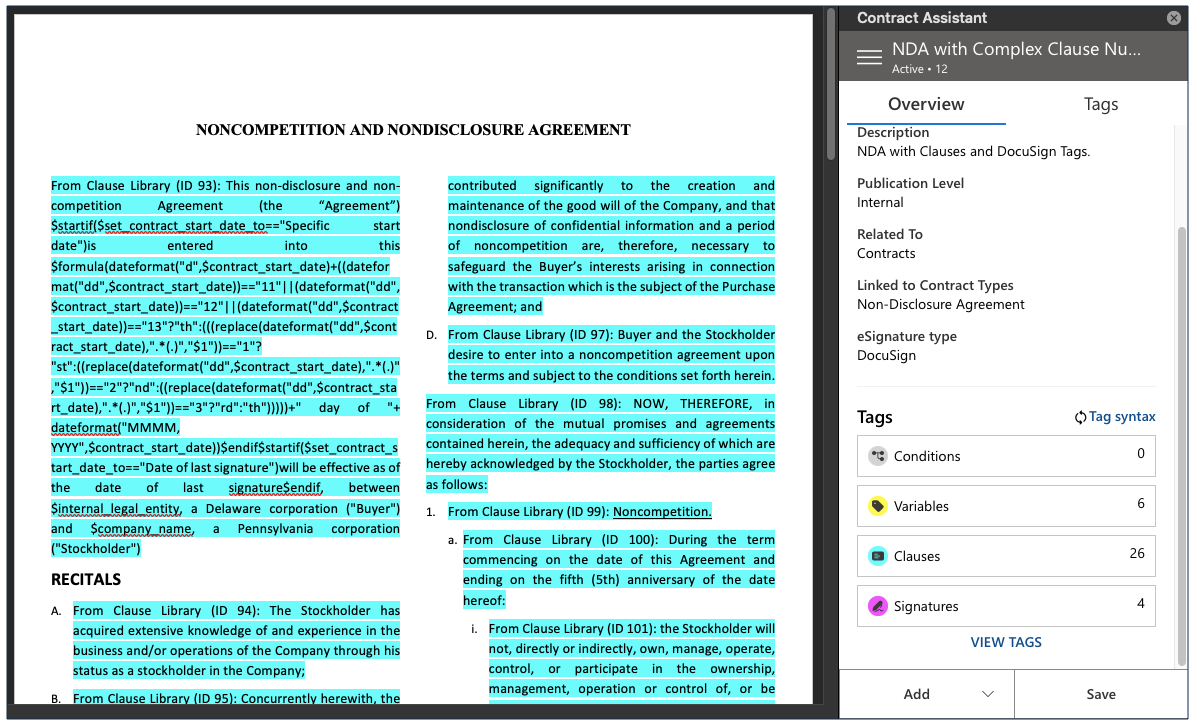
- Highlight content in the document that needs to be generic for the template, or otherwise needs to be connected to the KB so that it can be kept up to date. These might include:
- Variables. These represent field values from the record. For example, you might tag variables like Company Name, Contract Start Date, or Contract Amount. To tag a variable, highlight the text in the document and then click Add > Variable.
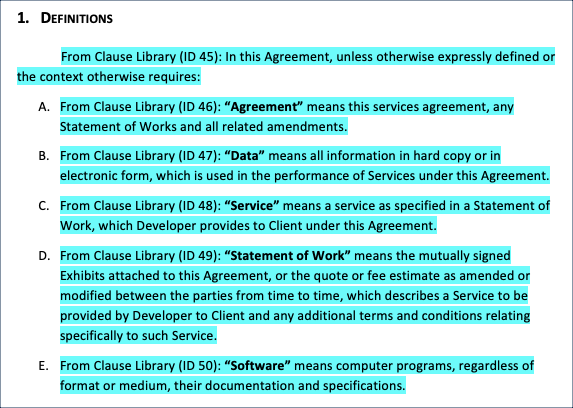
- Clauses. These represent standard clauses, or blocks of text, from your clause For example, you might tag a Limitation of Liability clause, or Force Majeure clause. To tag a clause, highlight the entire clause in the document and then click Add > Clause. Be careful with your highlighting, because all the highlighted text is replaced by the contents of the tagged clause. Clauses tagged in a template are updated if their corresponding records are updated in the KB.
- Signatures. These support electronic signature by the document's recipients, constructed according to the syntax of the e-signature vendor you selected in step 5. To tag a signature, highlight the signature line and click Add > Signature.
- As you go, you might encounter content, tagged or otherwise, that should only be included under certain circumstances. For these:
- First, enter or locate the text you want to show only under certain conditions.
Select the text, being careful to select or not select punctuation as desired, and then click Add > Condition.
This adds a $startif function, for those familiar with document template syntax. |
- Give a clear name to the condition so you can identify it in the pane.
- Select the variable, or field, that determines whether the text is shown.
- Select the appropriate operator, such as "is" or "is greater than".
- Enter the value you're evaluating. For example, to show text only when the Amended field is Yes, you would enter Yes for the value.
- Click Save (or Publish Changes). The selected text is now included only if the specified condition is met. If the condition is not met, the text is not included in the output file.
- Select or clear the checkboxes for different element types to show or hide them in the app. For large templates with many tags, this makes editing easier. For example, you might want to hide the variable tags when you finish with them, since there are often many discrete variables tagged in a template.
Below the element types, you can switch between Showing Labels or Showing Syntax.
| Some complex expressions are not yet supported by the template designer and must be entered manually in syntax mode. |
- Finally, test your template to make sure the output looks correct. Document templates often require some trial and error to get the formatting to look exactly right.
Editing a Template
- Open the document template file in Word.
- Click the Agiloft logo in the Home ribbon.
- Sign in to the KB where you want to create the document template, and
- Below the template information from the KB, click Scan and Convert. The Scan and Convert button appears whenever a template is open in the template editor, if the Word app isn’t yet aware of any expressions in the document. C the button scans the document for all $variable syntax expressions, and then converts them into labels. Label view makes it easier to add or edit expressions as $variable syntax expressions are replaced with their descriptive labels. Note that if you are using the Showing Syntax feature, this process does not change the appearance of the syntax.
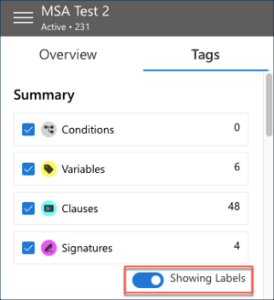
- In the Tags pane, you can see all the identified tags. Click the Showing toggle to see natural language labels for all the identified tags. Keep in mind that some syntax isn't supported with natural language labels, but that syntax can still be parsed by the system even if you don't tag it, so you don't need to remove it or change it.
- Add any variables, tags, signatures, or conditions as you go.
- Finally, test your template to make sure the output looks correct. Document templates often require some trial and error to get the formatting to look exactly right.
Syntax Mode and Label Mode
A document must contain $variable syntax to be recognized by the Agiloft template engine. When the variables themselves are visible in the document template, this is called syntax mode. Syntax mode is useful for editing and troubleshooting purposes. Whenever the Word app saves your document back to the KB, the document is converted to syntax mode.
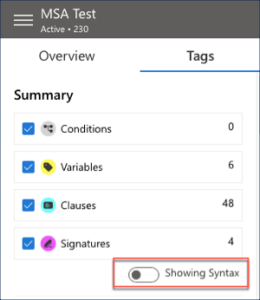

While syntax mode offers a basic view of the variables that are included in the template, label mode allows you to view the template with instead of variable syntax. To change the view from syntax mode to label mode, use the toggle on the Tags pane. If nothing has been tagged yet, you can
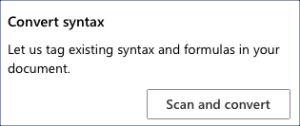
After the document template syntax has been scanned and converted, the values that correspond to the variables are populated into the template in label mode. They are given content controls that provide descriptive labels, and coloration is improved.
Related articles
|


