General ITIL Overview
This page describes a few key features of our ITIL system.
Which ITIL Standard do we use?
Our ITIL out-of-the-box system is based on the standards and terminology defined in the ITIL 2011 Edition library.
What controls security and the items different users can see?
In general, group permissions control what each user can see and do in the system. A user may belong to more than one group to receive a superset of that group's permissions. For detailed documentation of our group permissions and how they work, click Group Permissions Help.
Can fields be designated as mandatory?
Yes, any field may be made mandatory. It can be defined as always required, never required, or conditionally required based on the value in another choice-based field. This option appears within the field setup wizard, on the Options tab:
Once fields have been designated as required, how this requirement is displayed is defined globally.
The Required Fields window, located at Setup > Look and Feel > Required Fields Display, is a single page that allows you to define how the system displays required fields.
The options selected in the Required Fields window apply to all users, and can be defined separately for User-record fields and for Wizard fields.
Here you can choose:
- Whether to use an asterisk (*) to denote a required field
- Where to position the asterisk
- To use alternate text defined by the administrator with custom HTML
- The color of the required label
Archiving Records
Unique Record IDs
Audit Trails and the History Field
Searching
Any table in the system can be searched. For instance, you may want to find a particular incident, or all contracts of a certain type, or you may be looking for particular text content within an attached file. The quick search block lets you complete ad hoc searches, and is used when you don’t anticipate running the same search again.
Saved searches let you run the same search repeatedly and is typically reserved for searches you will need routinely. Saved searches have the added benefit of accepting more complex search criteria and offer more granular search results.
Quick Searches
Quick searches are done from the search block above the table you wish to search. If the search block (screenshot below) is not visible, click the word Search on the action bar to expand the search block:
Using the Search Block
- The first input box is a drop-down to indicate which field in the table to search. If the default -TEXT- is selected, all fields will be searched, including the content within any attached files, including .doc, .docx, text, and CSV files as well as OCR'd PDF files.
- The second input box defines the search operator. Different operators are available depending on the type of field selected in the first box. For example, numeric or choice fields offer “greater than” and “less than” operators, but text fields do not.
- In the third input box, enter the value you are searching for.
The most common ad hoc searches will look something like “Knowledge Type equals User Guide" or “Incident Summary contains keycard.” Quick searches can be performed on related tables using the search function on the associated action bar.
Saved Searches
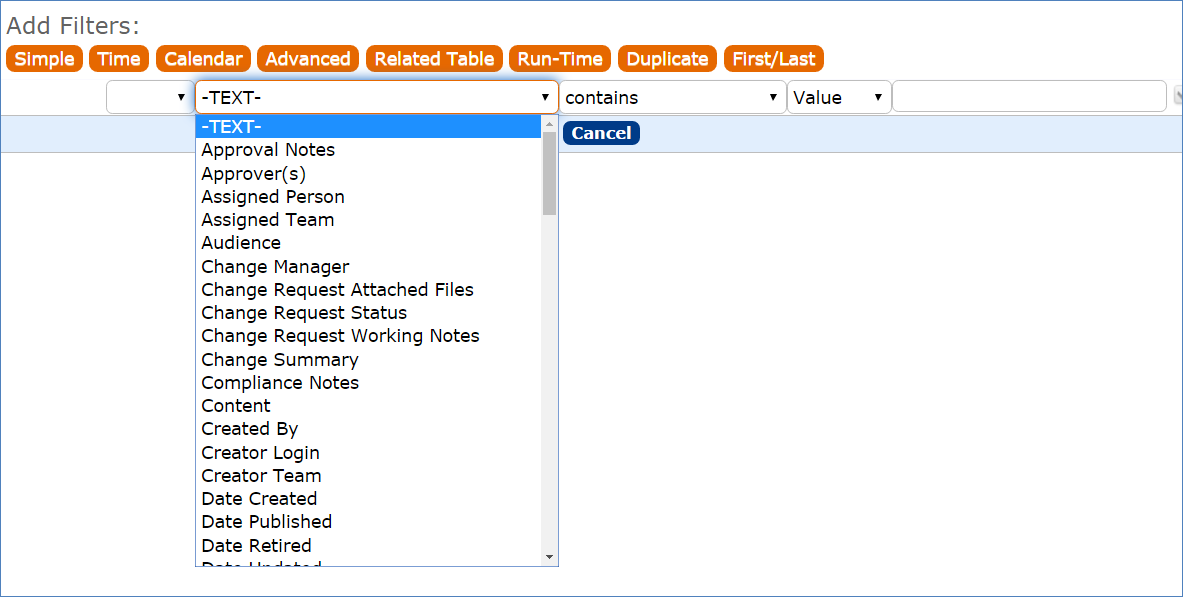
To create a saved search, hover over the down arrow next to the search icon and select New. This opens the saved search wizard, which has options for Simple filters (most commonly used), as well as more advanced options. Click Simple to add a filter:
Just like the quick search above, simple filters let you search any field for a particular value. Again, selecting -TEXT- will search through all available fields within the current table. For more information on the other search types, please see our online tutorial here.
Managing Saved Searches
Users in the Admin group, and those with permission to publish saved searches, see an Apply tab in the saved search wizard where they can decide which groups should have the search:
- Accessible
- Active
- Visible in left menu
- Visible in My Assigned
The Apply tab options have the following results:
- Choosing to make a search Accessible gives user the ability to interact with the search in their own Manage Searches wizard.
Each staff, or power user, can adjust where their accessible searches appear by checking the Active, Show in Left Pane, or Show in My Assigned boxes, defined next. This lets users customize where searches appear to tailor the interface to their work preferences.
- Active makes the search appear on the Search drop-down:
- Show in Left Pane adds the search to the left pane, indented below the Table name.
- Show in My Assigned adds the search to the My Assigned section in the left pane.
Additional Searching in the EUI
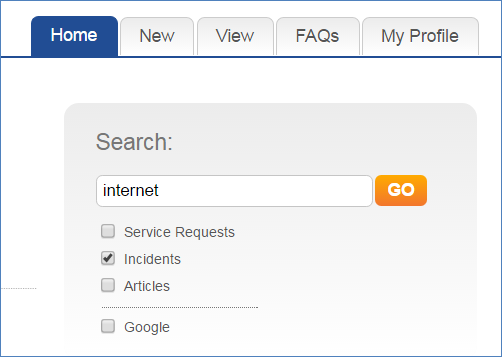
In the end user interface home page, there is a search block that can be used to search tables to which the user has access. A general internal customer can search service requests, incidents, articles, or can search Google:


