Upgrading the Agiloft Contract Assistant for Word
Agiloft continuously pushes out improvements to core features, and the Word app is one of those features. In order to ensure you have the latest version of the app, consult this guide on how you can upgrade your app to the latest version.
Upgrade Button
Before you can upgrade the app, you should check to make sure your KB is running the proper schema.
- Open your KB.
- Click the Info icon in the top-right corner
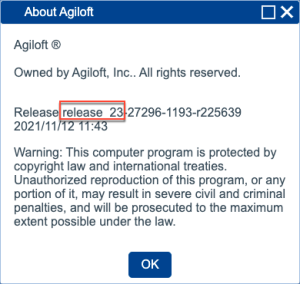
- Click About Agiloft and confirm that your server code has been updated to the newest version. This example shows a KB running server code for Release 23:
- Go to Setup > Integrations.
- If there is an Upgrade button under the Word Add-in section, click Upgrade. If you don't see this button, your KB already has the necessary platform schema.
- Click Configure. Look through the tabs of the configuration wizard, make sure all of the dropdown lists have selections, and click Save.
Now that you've checked to make sure your KB has the proper schema, continue to Upgrade Methods.
Upgrade Methods
What you will do next to upgrade depends on how you initially installed the app. The installation methods are:
- From the app store
- Using a manifest file with an O365 access group
- Using a manifest file with a Shared Folder
App Store
If you installed the app using the app store, it will upgrade automatically. No further action is necessary.
O365
If you installed using an O365 access group:
- Clear or remove the old version of the app. To do so, remove the existing manifest file in the O365 access group.
- Add a new version of the manifest file to the same access group. To get the new manifest file, navigate to the Download Manifest tab of the Word Add-in configuration wizard and select the "stable" version with the highest release number.
The KB should now reflect the newest schema available.
Shared Folder
If you installed using a shared folder:
- On your computer, locate the shared folder that stores the manifest file you originally used to install the app. The folder is generally called
C:\AgiloftWordAddin. - Remove the old manifest file from the folder, or simply delete it.
- Clear the Office add-in cache using the steps found on this Microsoft web page. The biggest takeaway is to ensure that you delete everything inside a folder called
%LOCALAPPDATA%\Microsoft\Office\16.0\Wef\. - Download a new manifest file from Agiloft to replace the one removed in step 8. On the Download Manifest tab of the Word Add-in configuration wizard, select the "stable" version with the highest release number.
- Add it back to the Shared Folder.
The KB should now reflect the newest schema available.