Adding SMS Templates
SMS templates enable you to set up automated SMS messages for a table with default messages and recipients, including elements such as variables and attachments.
Prerequisites
Before you can add SMS templates, you need to complete the steps in Configuring SMS Service.
Creating Templates
To create an SMS template for a table with outbound SMS messaging configured:
- Open the template management page using either of these methods:
- Click the Setup gear in the top-right corner, click Email and SMS, and click Access SMS Templates. Then, select the relevant table and click Next.
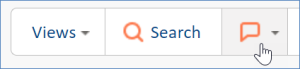
- In the table view, click the SMS button and select Manage Templates.
- Click New or edit an existing SMS template.
- In the editor, click the To recipient link to select or edit the message recipients. Add recipients using either or both of the available methods:
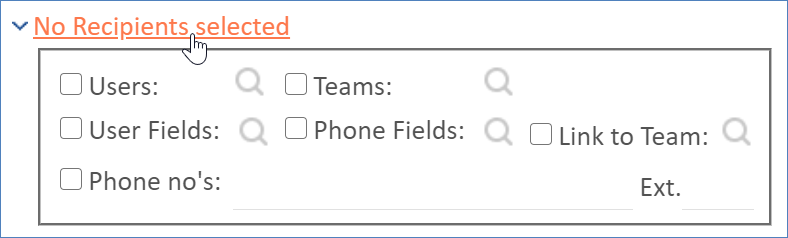
- Select a recipient type checkbox and click the look-up icon to select the relevant fields or records.
- Enter phone numbers manually. When entering multiple hard-coded phone numbers, separate each number with a comma.
- In the From drop-down, select an outbound SMS account.
- In the Content text box, compose the message. The Content box includes a few useful tools:
- Add system variables to dynamically pull details from records and use them in the message. Variables make templates flexible and easy to use. To add a variable, click the location in your message where you want to add it, then go to Insert > Variable and click the variable you want to insert. For more information on variables, see Formulas.
- Use an existing template as a base by inserting that template's content. To paste text from another template, click the location in your message where you want to add it, then go to Insert > Populate from template and select a template from the list.
- If desired, use the Attachments field to add file attachments to the message.
- Click Heading to open the Heading tab. These settings allow you to save the message as a template for others to use.
- Enter a name and description.
- Set Published to Yes if you want to make the template visible for users with the permission to view Published templates.
- Make the template active for selected teams. Hold Ctrl to select multiple teams. Active templates appear in the template list for users with access to the list.
- Click Finish.
- Click Finish.
Related articles